
Custom metal prints: how to set yours up properly
Your photo and the panel are almost never the same shape, so something always gets trimmed. This page shows you exactly what, for every combination of photo and panel, along with how to prepare your file and which finish suits your kind of picture.
- See what each panel shape keeps and cuts, before you order
- Get the file right the first time: format, colour profile, resolution
- Choose a finish based on the photo, not just the room
Why does my photo get cropped on a metal print?
Because your photo and the panel are rarely the same shape. A 4:3 phone photo on a 3:2 landscape panel loses a strip from the top and bottom, and on a square panel it loses the ends. You choose what stays in frame when you review the crop, so nothing is cut without you seeing it first.
The table below is the whole decision in one place. Find the shape of your photo down the left, then read across to see roughly how much of the frame survives on each panel. Anything in the high eighties or above is a trim you will not notice. Anything under about 60% means you are choosing a new composition, not just a shape.
| Your photo | Landscape 3:2 | Portrait 2:3 | Square 1:1 | Circular 1:1 | Panoramic 3:1 |
|---|---|---|---|---|---|
| 4:3 Most iPhone and Android main-camera photos |
89% | 50% | 75% | 59% | 44% |
| 3:4 The same camera, turned vertical |
50% | 89% | 75% | 59% | 25% |
| 3:2 DSLR and mirrorless cameras |
100% | 44% | 67% | 52% | 50% |
| 2:3 The same camera, turned vertical |
44% | 100% | 67% | 52% | 22% |
| 1:1 Instagram crops and square camera modes |
67% | 67% | 100% | 79% | 33% |
| 3:1 Phone panorama mode and stitched shots |
50% | 22% | 33% | 26% | 100% |
These are area figures for a centred crop. In practice you move the frame yourself at checkout, so you decide which part of the picture you keep. A circular panel always loses the corners of its square crop, which is why its numbers sit lower than the square column.
Which panel shape should I pick for my photo?
Phone photos are usually 4:3. A landscape or portrait 3:2 panel keeps about 89% of the frame, which is a barely noticeable trim. A square panel keeps about 75% and a panoramic panel keeps around 44%. Match the panel to the way you were holding the phone.
Landscape panel (3:2)
The default wall shape. Suits anything shot sideways.
Portrait panel (2:3)
Taller than wide. For people, doorway-shaped gaps and tall scenery.
Square panel (1:1)
Balanced and modern, and the easiest shape to hang in a grid.
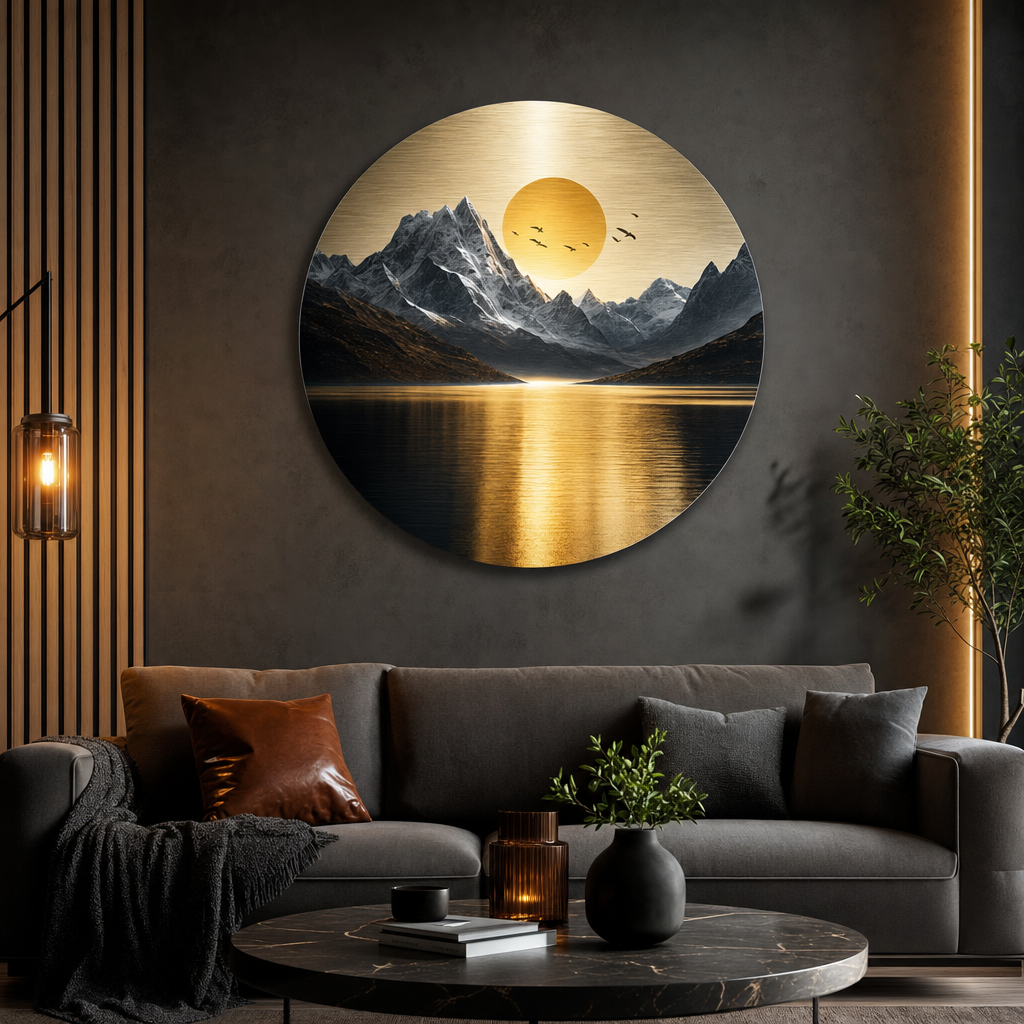
Circular panel (1:1)
A square crop with the corners cut away. Put the subject dead centre.
Panoramic panel (3:1)
Extra wide. Only worth it if the photo is already wide.
A rule that saves most people a reprint
Whatever shape you choose, keep anything you care about — faces, a horizon, a signature — well inside the frame rather than close to an edge. Panels are trimmed to size after printing, so a subject sitting right on the boundary can end up tighter than it looked on screen. An inch of breathing room costs nothing.
Need a shape that is none of the above? Email info@metalprintscanada.com with your photo’s dimensions and we will look at a custom-cut panel.
What file should I upload, and how should I prepare it?
Common photo formats work and JPEG is the safest. If your iPhone saves HEIC files, open Settings, then Camera, then Formats and choose Most Compatible before exporting, or share the photo to yourself first so it converts. Avoid PDFs and anything heavily compressed.
Nearly every disappointing print traces back to the file rather than the printing. A photo that has been texted to a relative, posted to Facebook and saved back down is a fraction of the size of the one still sitting in your camera roll, and no amount of printing skill brings that detail back.
Upload this
- The original file from your phone, camera or hard drive.
- JPEG, or convert HEIC first using Settings, Camera, Formats, Most Compatible.
- sRGB colour, which is the default almost everywhere.
- An uncropped frame where you can, so there are pixels to spare.
- Light edits only: straighten, adjust exposure, lift the shadows a touch.
Not this
- Screenshots, which are only ever as big as your screen.
- Photos sent by text or chat, which are compressed on the way.
- Images saved from social media, resized and re-compressed twice over.
- Heavy sharpening or noise reduction, which looks worse large than it does on a phone.
- Adobe RGB or ProPhoto exports, unless you convert to sRGB first.
As a rule of thumb, aim for roughly 150 pixels per inch at the finished size. If you are printing something big, the large metal prints page has a full pixel chart by size. Not sure whether your file measures up? Email it to info@metalprintscanada.com before you order and we will tell you honestly.
How will my photo actually look once it is on metal?
Light areas carry the brightness of the panel surface itself, which is what gives metal prints their lit-from-within look. On very pale, high-key images that also means large reflective areas, so semi-gloss is usually the better finish for those photos.
Dark areas go deeper than they look on a backlit screen, so photos that are already moody can lose a little shadow detail. If your image has important detail down in the blacks, lift the shadows slightly before you upload and you will get it back.
Saturated colour tends to gain a touch of intensity rather than lose it, which is why landscapes and night shots do so well here. Skin tones are the one area worth being careful with: a portrait that is already warm can tip further warm, so judge it on a screen you trust rather than one with a blue-shifted night mode on.
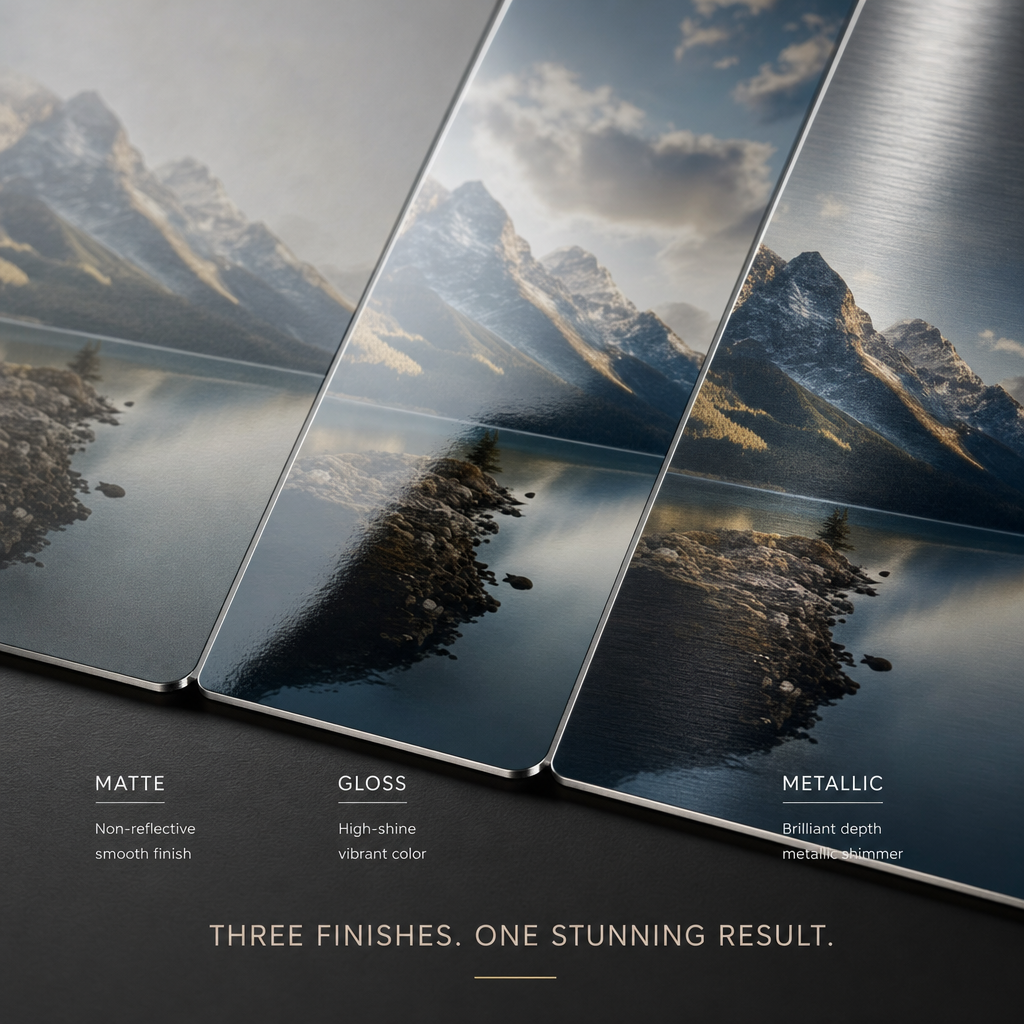
Which finish suits which kind of photo?
| If your photo is | Pick | Why |
|---|---|---|
| Landscapes, sunsets, northern lights | High-gloss | Deep blacks make the bright parts of a sky look lit from behind. |
| Travel, street and night photography | High-gloss | Strong contrast and small points of light are what gloss does best. |
| Portraits and wedding photos | Semi-gloss | Softer reflections keep skin tones even and faces readable from an angle. |
| Black-and-white photography | Either | Gloss deepens the blacks, semi-gloss protects the mid-tones. Decide by the room. |
| Pale, high-key or minimalist images | Semi-gloss | Large light areas show reflections most, so cutting glare matters more here. |
| Artwork, logos and graphic design | High-gloss | Flat areas of colour look cleanest and most saturated on a gloss surface. |
One override beats all of the above: if the print will hang opposite a large window or under bright downlights, choose semi-gloss whatever the picture is. Glare you have to walk around ruins a photo faster than slightly shallower blacks ever will.
How should my metal print sit on the wall?
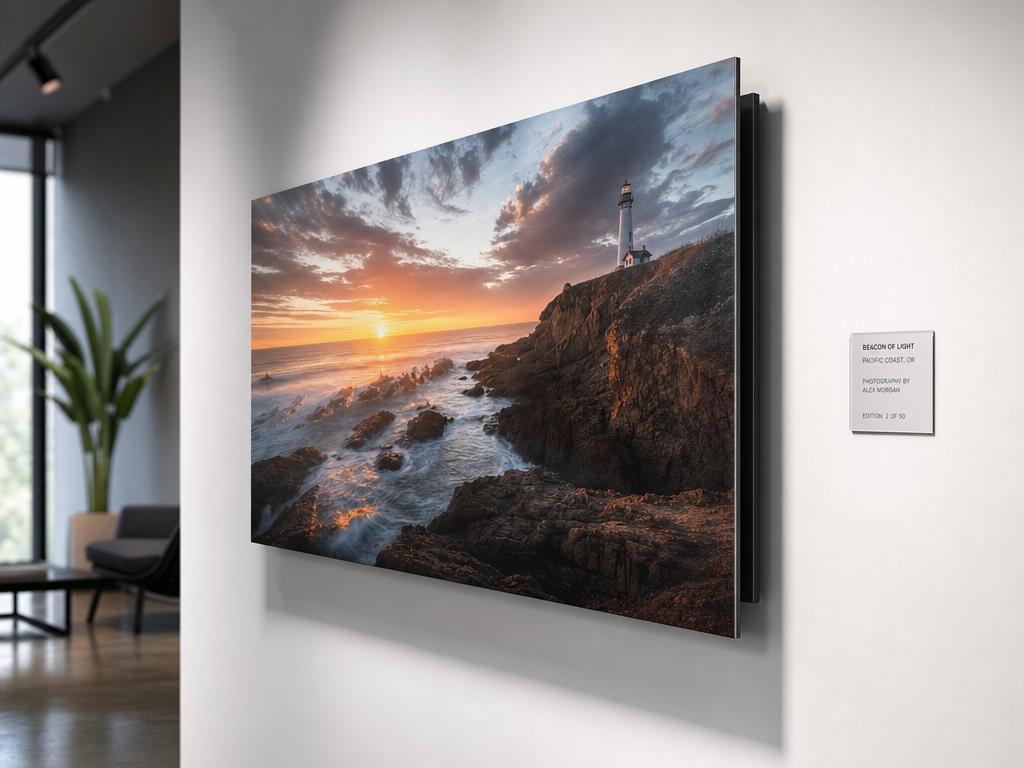
Choose the mount when you order. A float mount holds the panel off the wall with a shadow line behind it, a hanging strip keeps it flush and tidy, a desk easel stands smaller panels on a shelf, and a frame adds a border. The hardware for your size is listed with the product options.
Exhibit float mount
A block behind the panel holds it off the wall so it appears to float, with a shadow line around the edge. The gallery look, and the usual pick for a feature piece.
Hanging strip
A slim strip that keeps the panel close to the wall. Tidy and unobtrusive, which suits hallways, offices and any wall where the print sits beside other things.
Desk easel
A small stand for shelves, desks, mantels and bedside tables. Made for smaller panels rather than wall pieces.
Frame
A finished border around the metal, for formal rooms or walls where everything else is already framed.
Can I split one photo across several metal panels?
Yes. A wide photo split across three panels is a popular way to fill a long wall. Keep faces, horizons and focal points away from the cut lines, because the gaps between panels become part of the picture. Tell us what you have in mind and we will plan the split with you.
Split panorama
One wide photo cut across three equal panels. The gaps become part of the image, so keep faces, horizons and focal points away from the cut lines.
2 to 4 in between panelsMatching set
Three or four separate photos from the same trip or shoot, all the same size and shape. Easier to live with than a split image, and easy to add to later.
2 to 3 in between panelsSquare grid
Four or six square panels in a block. Reads as one piece from across the room and as individual photos up close. Good for family photos and pets.
2 in, equal on all sidesVertical stack
Two or three panels in a column for a stairwell or a narrow wall between doors. Mix portrait and square shapes rather than repeating one.
3 to 4 in vertically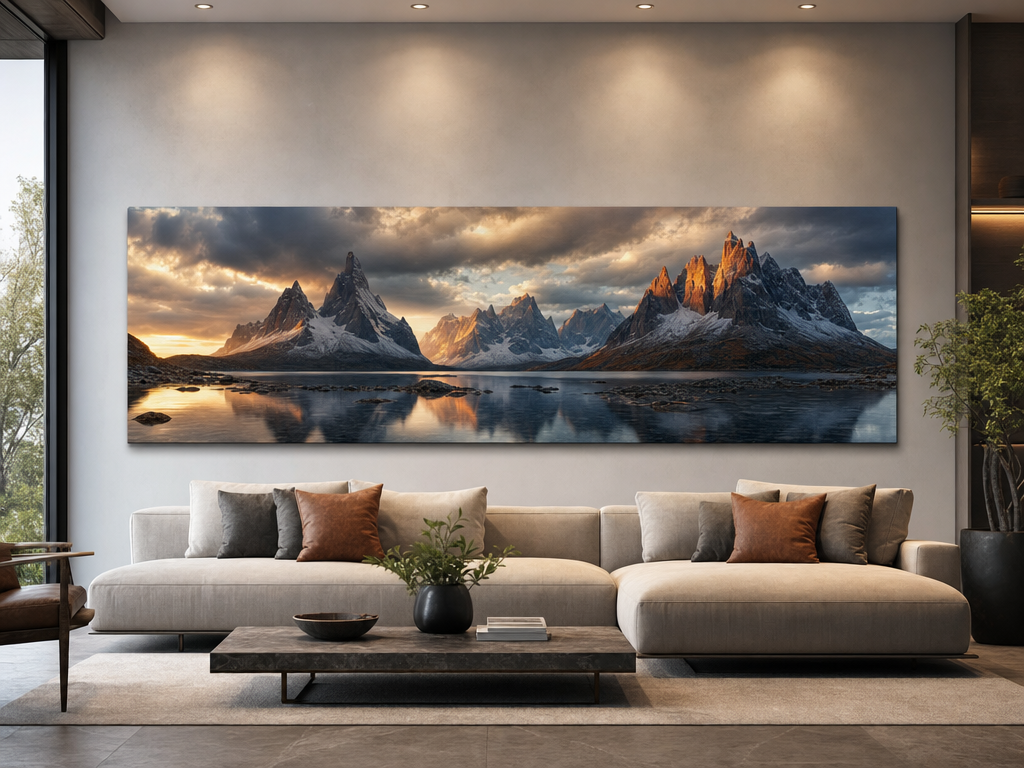
Hanging a group so it looks deliberate
Two to four inches is the usual range. Use the tighter end for a split image so it reads as one picture, and the wider end for separate photos. Keep the gaps identical on every side, measure from the panel edges, and centre the whole group 57 to 60 inches from the floor.
Planning a wall of several large panels? The large metal prints page covers oversized sizes, panel weights and hanging hardware.
What happens when I order a custom metal print?
Five things: which image file you upload, the panel shape, the size, the finish, and how it hangs. Decide the shape before the size, because the shape sets how your photo is cropped. Everything else can be changed on screen before you pay.
Pick the file, not just the photo
Find the original in your camera roll rather than a copy that has been texted, posted or screenshotted. The original is usually several times larger.
Choose the panel shape first
Before the size. The shape sets the crop, and the crop decides what stays in the picture.
Set size, finish and mount
Size by the wall, finish by the image and the light in the room, mount by how you want it to sit. The price updates as you choose.
Review the crop, then order
Move the frame until it looks right, check that nothing important sits near an edge, and confirm. We print it, inspect it by hand and pack it.
Custom metal prints start at $50 CAD and most orders are printed within 24 hours, then shipped free anywhere in Canada. For everything else about the company, the panels and the guarantee, see the main metal prints page.
Questions about customising your print
These cover files, cropping and colour. For questions about price, durability, cleaning and delivery, see the main FAQ page.
Still stuck? Email info@metalprintscanada.com or call +1-825-977-3451.
What do I actually have to decide when I order a custom metal print?
Five things: which image file you upload, the panel shape, the size, the finish, and how it hangs. Decide the shape before the size, because the shape sets how your photo is cropped. Everything else can be changed on screen before you pay.
Why does my photo get cropped on a metal print?
Because your photo and the panel are rarely the same shape. A 4:3 phone photo on a 3:2 landscape panel loses a strip from the top and bottom, and on a square panel it loses the ends. You choose what stays in frame when you review the crop, so nothing is cut without you seeing it first.
Which panel shape fits a phone photo best?
Phone photos are usually 4:3. A landscape or portrait 3:2 panel keeps about 89% of the frame, which is a barely noticeable trim. A square panel keeps about 75% and a panoramic panel keeps around 44%. Match the panel to the way you were holding the phone.
Can I print the whole photo without cropping anything?
Only if the panel is the same shape as your photo. If keeping the full frame matters, such as a group shot with someone near the edge, tell us before you order and we will look at a custom-cut panel in your photo’s exact ratio instead.
What file format should I upload?
Common photo formats work and JPEG is the safest. If your iPhone saves HEIC files, open Settings, then Camera, then Formats and choose Most Compatible before exporting, or share the photo to yourself first so it converts. Avoid PDFs and anything heavily compressed.
Should I edit or sharpen my photo before uploading?
Light edits help: straighten horizons, fix exposure, and lift the shadows slightly, because metal renders dark areas deeper than a screen does. Skip heavy sharpening and heavy noise reduction, since both tend to look worse printed large than they do on a phone.
What colour profile should my file be in?
sRGB. Phones, most cameras and most editing exports use it by default, so usually there is nothing to do. If you work in Adobe RGB or ProPhoto, convert to sRGB when you export, otherwise colours can shift toward the dull side in print.
Will the print match what I see on my screen?
It will be close, but screens are backlit and uncalibrated ones vary a lot, so expect small differences. Metal prints usually look slightly richer and more contrasty than a phone screen. If exact colour matters for professional work, send us a note before ordering.
How do whites and pale areas look on a metal print?
Light areas carry the brightness of the panel surface itself, which is what gives metal prints their lit-from-within look. On very pale, high-key images that also means large reflective areas, so semi-gloss is usually the better finish for those photos.
Do black-and-white photos work well on metal?
They work very well. Metal holds deep blacks and keeps clean separation in the mid-tones, which is exactly what monochrome needs. High-gloss deepens the blacks further and semi-gloss protects the subtle greys, so choose by the lighting in the room.
What happens if my file is too small for the size I picked?
A small file printed large looks soft or shows blocky edges. As a rule, aim for about 150 pixels per inch at the finished size. If your file falls short we will flag it before printing and suggest a smaller size or a tighter crop rather than printing something you would be disappointed with.
Can I split one photo across several metal panels?
Yes. A wide photo split across three panels is a popular way to fill a long wall. Keep faces, horizons and focal points away from the cut lines, because the gaps between panels become part of the picture. Tell us what you have in mind and we will plan the split with you.
How far apart should multiple metal panels hang?
Two to four inches is the usual range. Use the tighter end for a split image so it reads as one picture, and the wider end for separate photos. Keep the gaps identical on every side, measure from the panel edges, and centre the whole group 57 to 60 inches from the floor.
Can I reorder the same image later?
Yes. Order with an account rather than as a guest and your uploaded files stay with your order history, so a second panel for another room or as a gift takes a couple of minutes. Email us with your order number if you cannot find the original upload.
Can I print a photo that someone else took?
Only with the photographer’s permission. Wedding, newborn and school photographers usually own the copyright in their images, and many sell a print release separately. Ask first — most are happy to agree, and some will send you a higher-resolution file than the one you already have.
Can I print artwork, drawings or digital designs instead of a photo?
Yes. Paintings, illustrations, logos and design work all print well. Photograph or scan physical artwork square-on in flat, even light with no glare, or export digital work at the largest pixel size your software offers.
Pick your photo and set it up
Upload your file, choose the shape, size, finish and mount, and move the crop until it looks right. Nothing goes to print until the preview is what you want.
Upload your photo From $50 CAD.